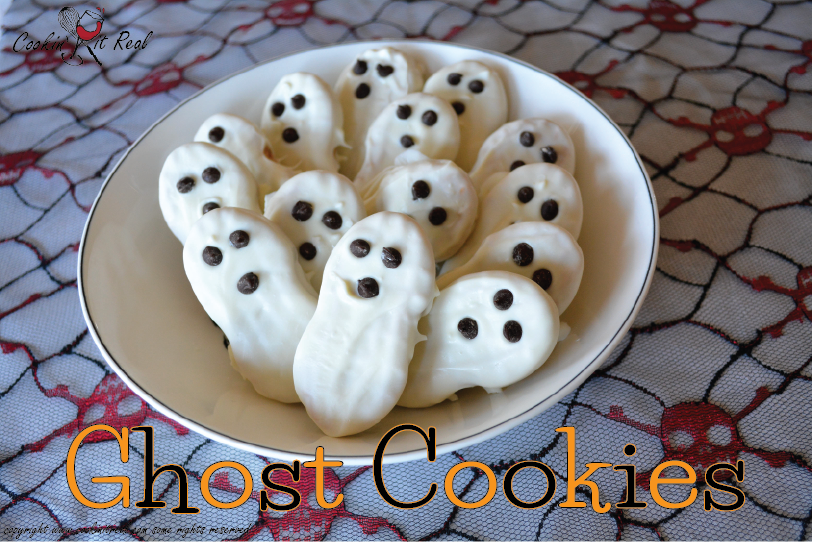
Found this great recipe for a fun Halloween cookie that is totally worth the effort. It can be a bit of a messy job, but somebody’s got to do it! I found it’s easiest to just dig in with your fingers to get that white chocolate everywhere versus trying to use a fork or tooth pick to hold them while dipping. Three simple ingredients mixed in with a little love makes these my new favorite Halloween treat. They won’t turn out perfectly which honestly makes them even more spooktacular . 😛 Plus clean up is as easy as licking your fingers!
Ghost Cookies
Author: Monica
Prep time:
Total time:
Ingredients
- 1 package Nutter Butter Cookies
- 1 container CandiQuik or equivalent meltable white chocolate candy coating
- miniature chocolate chips
Instructions
- Follow the package instructions for warming the chocolate candy coating. If using the CandiQuik brand, it comes in its own tray which makes SUPER easy work of the dipping.
- Once chocolate is melted and stirred, drop a cookie into the tray, grab it by the "waist", smooth the coating on that side with a spatula if needed. Flip it and while holding it let some of the coating either drip off or smooth it with the spatula.
- Set it on a sheet of parchment or waxed paper and immediately place the miniature chocolate chip eyes and mouth into position. If necessary smooth the sides where your fingers were if some of the coating comes off.
- Allow coating to harden for at least one hour, or until it feels solid when touched.
- Happy Haunting! ENJOY!